
Leather Stamp Spacing Calculator & Printable Layout Guides
Two things make a stamped border look right: the impressions are evenly spaced, and the pattern closes cleanly where it meets. Both come down to arithmetic you can do before you wet the leather. This page does that arithmetic, and gives you a true-size ruler to mark from.
1. Measure the pitch, not the stamp
A border stamp's pitch is not its width. Pitch is the distance from one impression to the same point on the next when the pattern seats correctly. On most border tools the tails overlap, so pitch is shorter than the brass. Measuring the tool instead of the pitch corrupts every number that follows.
The scrap test. Case a strip of scrap. Strike four impressions, seating each into the last exactly as you intend to on the real piece. Measure from the first impression to the fourth, divide by three. That is your pitch, and it accounts for how you seat the tool.
2. What to do with the remainder
A run almost never divides evenly. What you do with the leftover decides whether the work reads as deliberate or as a mistake.
| Leftover | What to do | Why |
|---|---|---|
| Under about a fifth of the pitch | Split it between the two end margins | Nobody measures a margin. The eye checks the rhythm between impressions, and that stays perfect. |
| More than that | Take a whole impression out and grow both margins | A run of nine even impressions with wider ends looks intended. Ten impressions stretched apart does not. |
| Any amount | Never stretch the spacing to make it fit | Gaps between border impressions are the first thing a leatherworker notices, and they cannot be fixed after the strike. |
3. Marking the line
- Scribe against the edge, not a ruler. Run a wing divider or edge groover along the belt edge. A leather edge is rarely dead straight, and a line that follows the edge looks right even where a ruled line would not.
- Step off with dividers set to the pitch. Walk them down the line and prick each seat. This beats measuring each mark, because it cannot accumulate reading error.
- Case the leather properly. Damp to the touch, not wet. Too wet and the impression closes as it dries; too dry and it will not take.
- One firm strike, square. Rocking the tool blurs more impressions than insufficient force ever has. For deeper relief, lift fully, re-seat in the same impression, strike again.
4. Printable rulers and worksheet
Calibration — check this first
This bar is exactly 100 mm. If it does not measure 100 mm on your ruler, your printer scaled the page. Reprint at 100%.
Millimetre strip — 200 mm
Layout worksheet
| Piece | Leather | ||
| Run length (tip to fold) | Pitch (scrap test) | ||
| Margin each end | Impressions | ||
| Leftover | Absorbed into |
Keep the scrap strip from the pitch test with this sheet. It is the only record of how that tool seats in your hands.
5. Before you strike anything
- Vegetable-tanned leather only. Chrome-tanned springs back and holds nothing.
- 3 mm thick or more, or put a backing scrap underneath. A deep impression in thin leather telegraphs through the back and weakens the line where the fibres crush.
- Something solid underneath. A stone or granite offcut makes more difference than swinging harder.
- Depth is not the goal. Our own dies cut to 1.8 mm at the deepest, and most border work reads better shallower than that.
Our Team
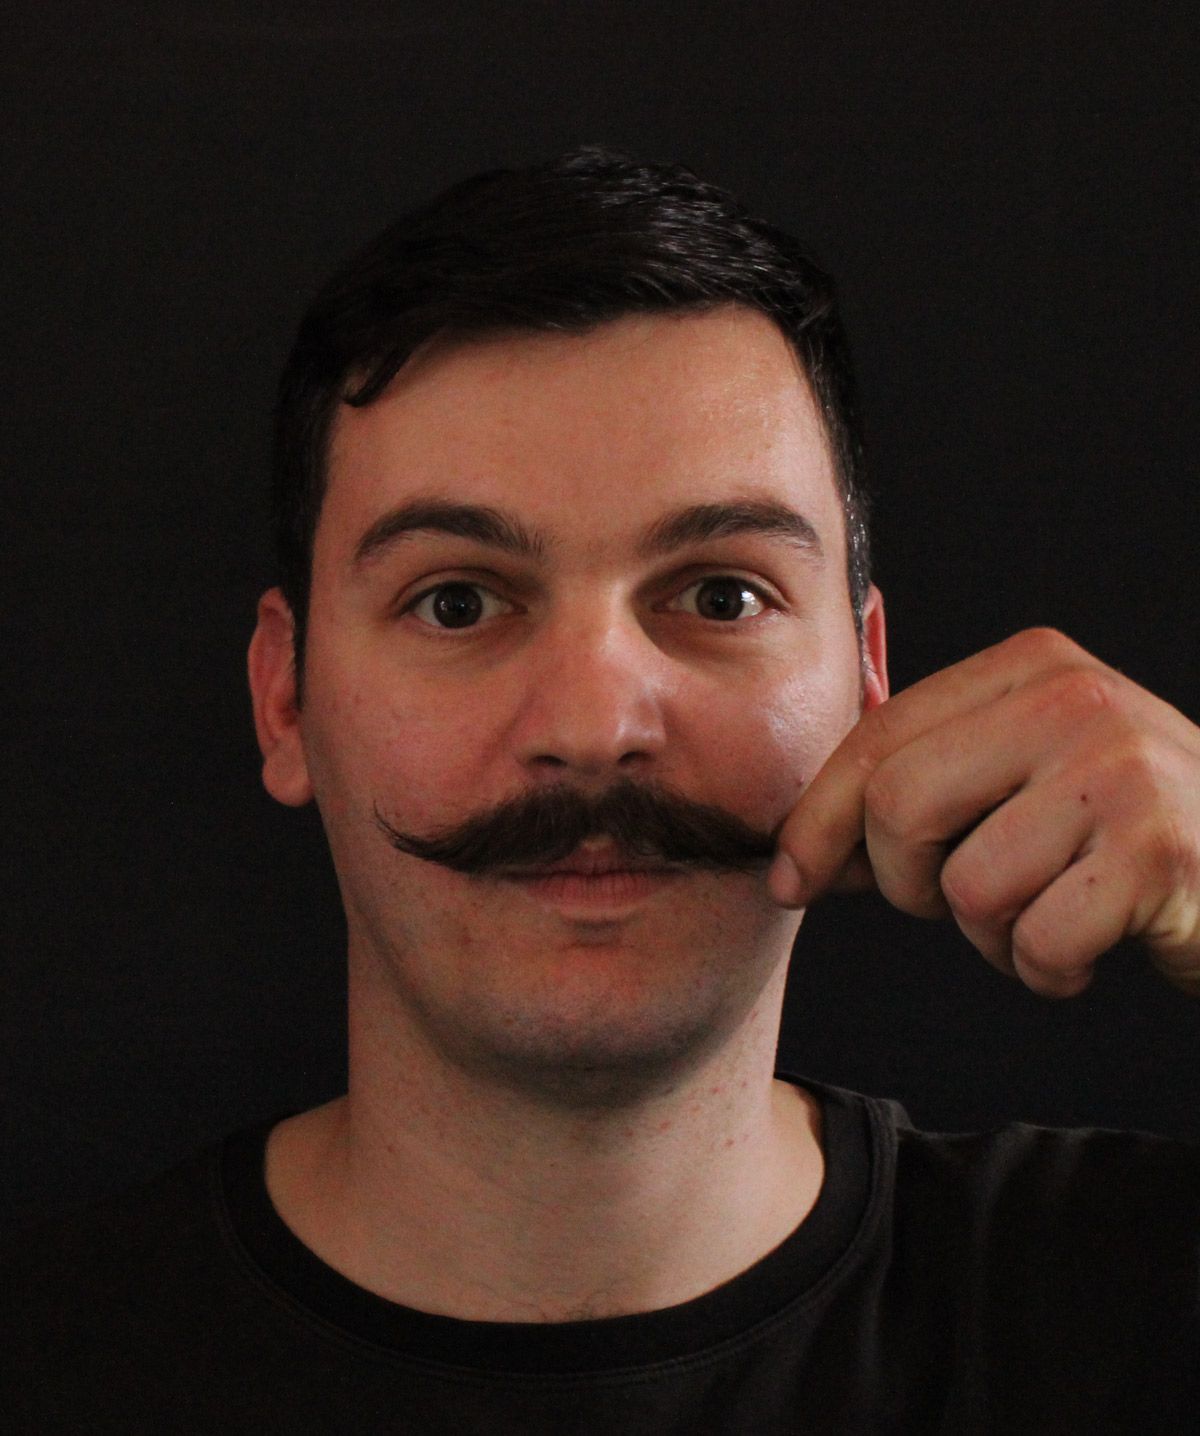
Owner, Machinist And Tool And DIE maker, a man of ideas
Mirko Suka
Well.. When Mirko come to work, first thing he say is.. Heey, I was thinking.. we can do like this or that.. HA What a great Idea. Searching for best solutions in production to improve work environment always with a smile oh his face..
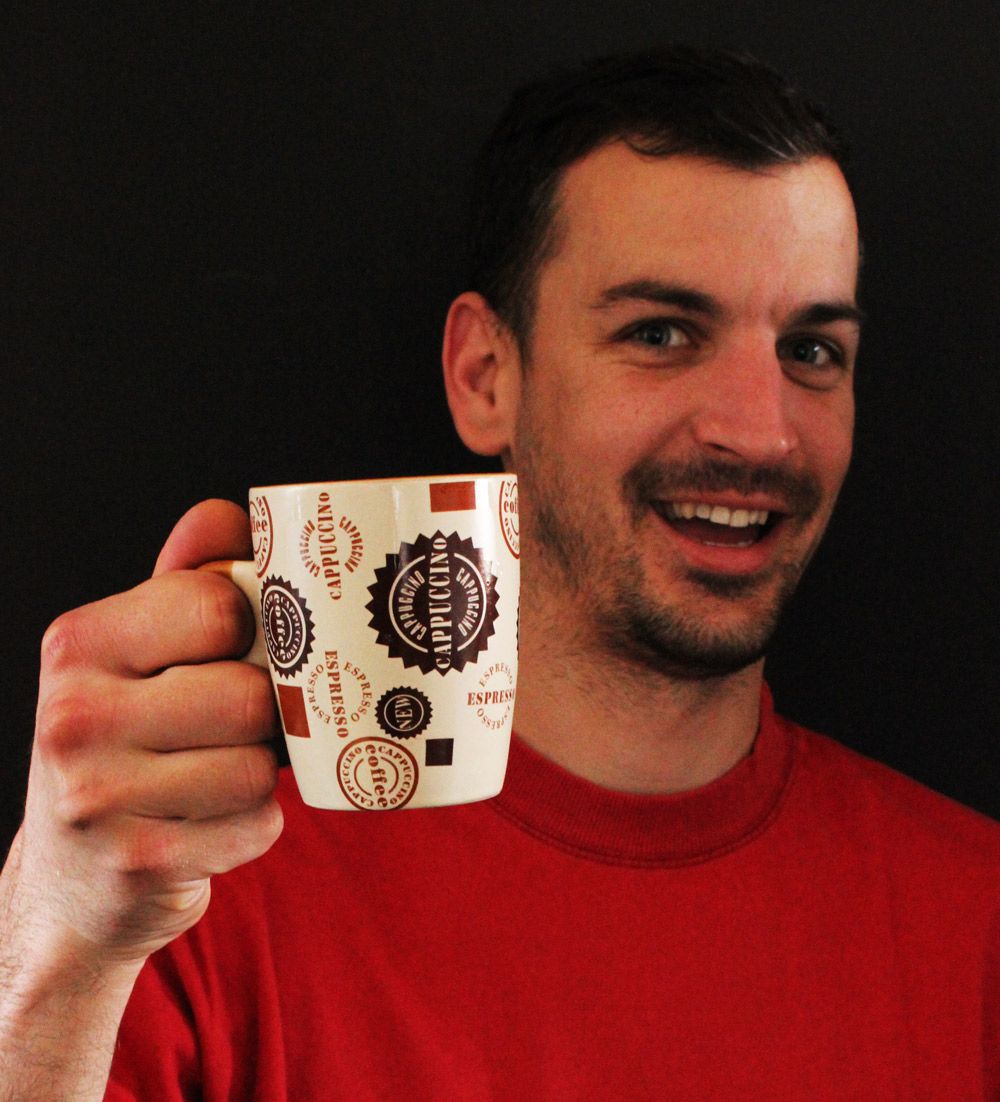
Designer, Customer Service, Dreamer
Goran Suka
Me, Myself & I :D When you chat, you chat with me :) Just trying to give my best.. visually and personally.. So you can feel like at home :)
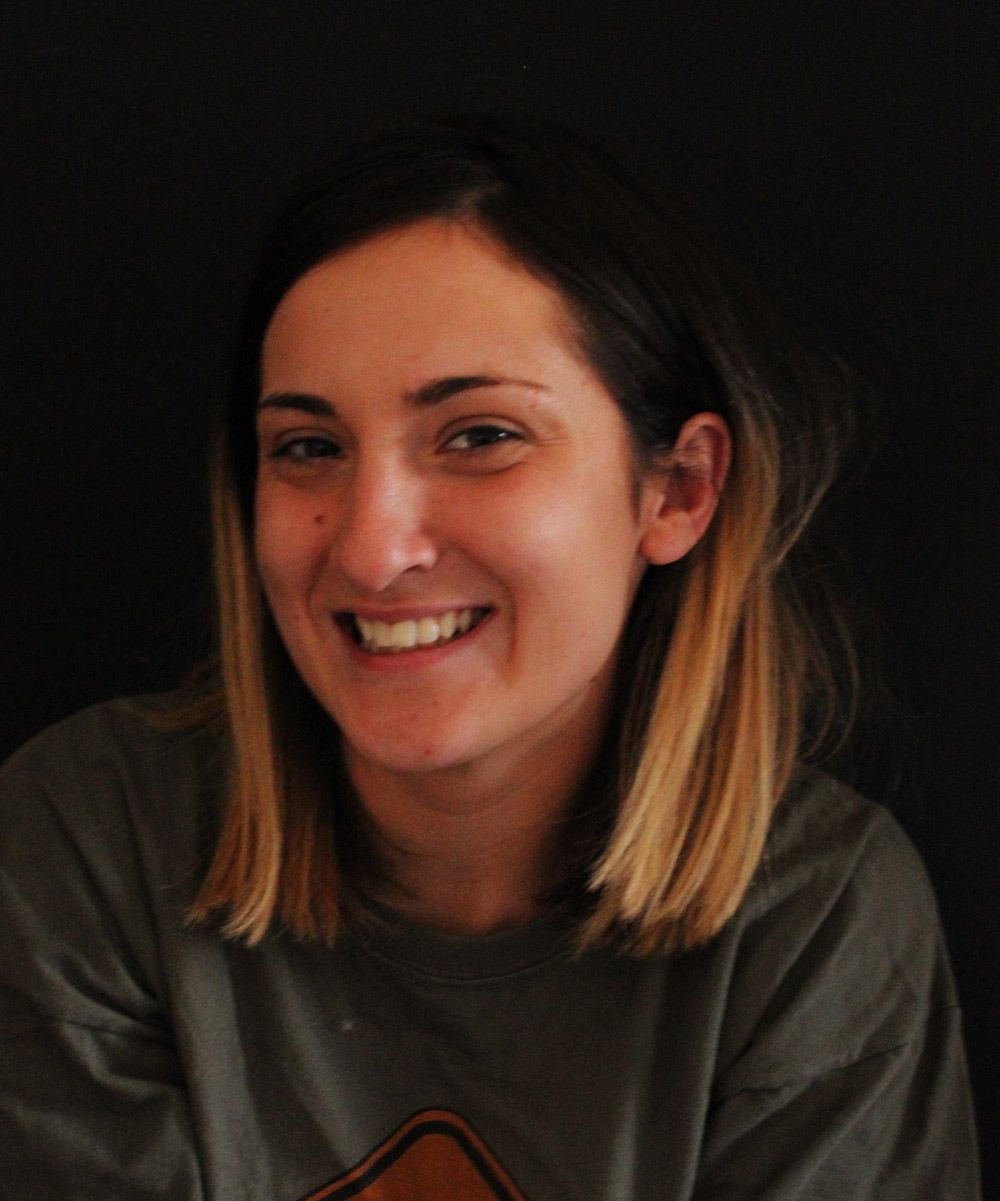
Photographer, Assistant, Artist
Natasa
Natasa is our Artistic, Creative part. Her drawings are exercise for a restless imagination , she is taking care of all of your orders, and you can feel her energy on each stamp. :)

Assistant, Marketer, Love Bringer
Dunja
When Dunja arrives, on each stamp you can feel how much love she is bringing with her, Testing all of your stamps and bringing them to life and on a magic bike rides to post. Feel the joy and serenity :)
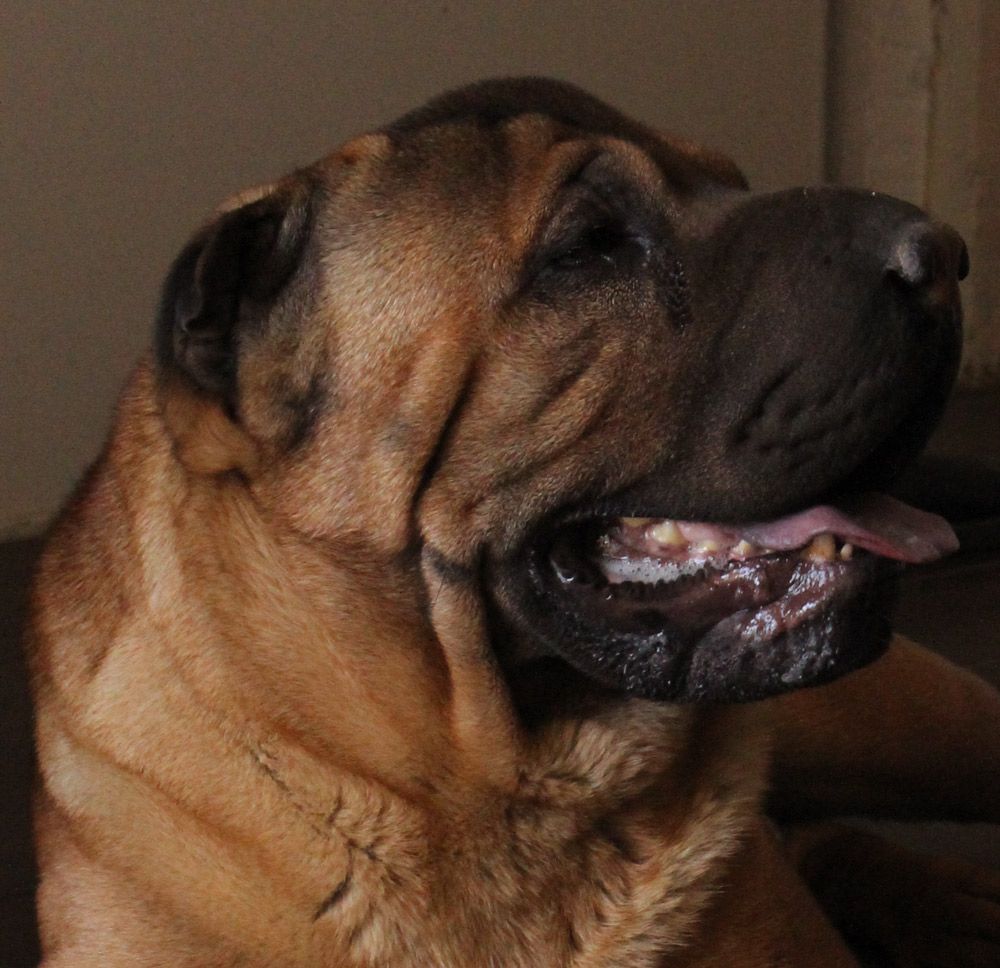
Owner, CEO, ENjoyer
Billy The Boy
The life with Billy make's all much easier and his smile is giving all energy necessary to proceed with your working day